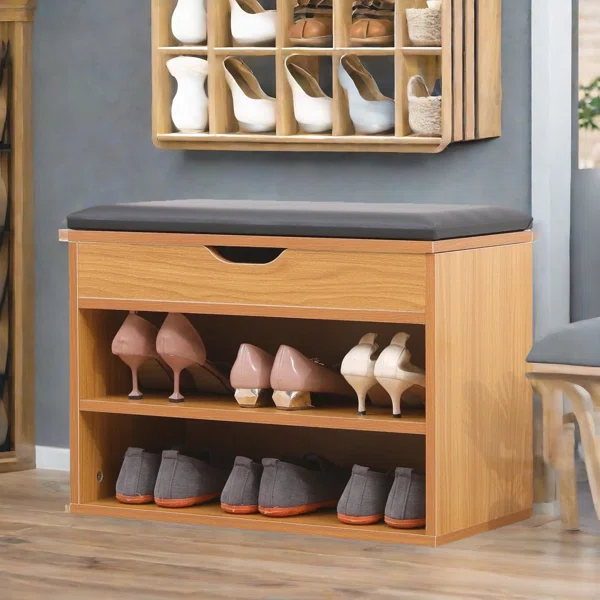
Creating a functional space in your home can be a rewarding project, and a bench with shoe storage is a perfect solution for keeping your entryway tidy. Not only does it provide a place to sit while putting on or taking off shoes, but it also helps organize your footwear.
If you’re wondering how to build a bench with shoe storage, this guide will walk you through the process, making it easy to enhance your home’s style and functionality.
Why You Should Consider a Shoe Storage Bench
A shoe storage bench combines practicality and aesthetics. It keeps your shoes out of sight while providing a convenient seating area. Plus, it can be customized to fit your space and style, making it an attractive addition to any room. Whether you need extra storage in a small entryway or want to declutter your hallway, building a shoe storage bench is a great DIY project.

Step-by-Step Instructions: How to Build a Bench with Shoe Storage
Materials Needed:
Plywood or hardwood boards
Wood screws
Wood glue
Sandpaper
Paint or wood stain
Hinges (for the top lid)
Measuring tape
Saw
Drill
Step 1: Measure and Plan
Start by determining the size of your bench. A standard width is around 36 inches, with a depth of 18 inches and a height of 18 inches. Once you have your dimensions, sketch a simple plan to visualize the layout, including compartments for shoe storage.
Step 2: Cut Your Materials
Using your saw, cut the plywood or hardwood to match your measurements. You’ll need pieces for the top, sides, and bottom of the bench, as well as dividers for shoe storage.
Step 3: Assemble the Base
Begin by assembling the base of the bench. Attach the side pieces to the bottom piece using wood screws and wood glue. Make sure everything is square and aligned properly.
Step 4: Create Storage Compartments
For efficient shoe storage, add dividers inside the bench. Depending on how many pairs of shoes you want to store, adjust the spacing between dividers. Secure these with screws or glue.
Step 5: Attach the Top
Once the base and compartments are ready, attach the top of the bench. Use hinges to create a lid that opens easily, allowing you to access your shoes without hassle.
Step 6: Sand and Finish
After assembly, sand all surfaces to ensure a smooth finish. This step is crucial for avoiding splinters. Once sanded, apply paint or wood stain to protect the wood and enhance the appearance of your bench.


Additional Tips for Building a Shoe Storage Bench
Customize Your Design: Consider adding hooks on the sides for hanging bags or jackets.
Choose the Right Location: Place your bench in a convenient spot, like near the front door, to make it easy for family members and guests to use.
Make It Stylish: Use colors and finishes that complement your home decor for a seamless look.
Conclusion
Now that you know how to build a bench with shoe storage, you can tackle this rewarding DIY project. Not only will you gain extra seating and storage, but you’ll also create a functional piece of furniture that enhances your home’s entryway. Remember to take your time with measurements and assembly, and don’t hesitate to customize your bench to fit your unique style and needs.
By following these steps, you’ll not only enjoy a clutter-free space but also a beautiful and functional storage solution that meets your everyday needs.


