introduce
Is your car often cluttered with no room to organize your belongings? The small car is often full of various items, so now you need to have a car storage to solve your troubles.
Benefits of rear seat car organizer
Before we dive into the details of making a rear-seat car organizer, let’s take a moment to understand why it plays such a crucial role in the neatness of your car. A versatile organizer will not only keep your car neat, but also improve convenience. Whether you’re a busy parent running your kids to and from school or a road trip enthusiast, having a storage space for essentials will make your trip easier.
Tools and materials overview
To get started with DIY, you’ll need a few key tools and materials. These include:
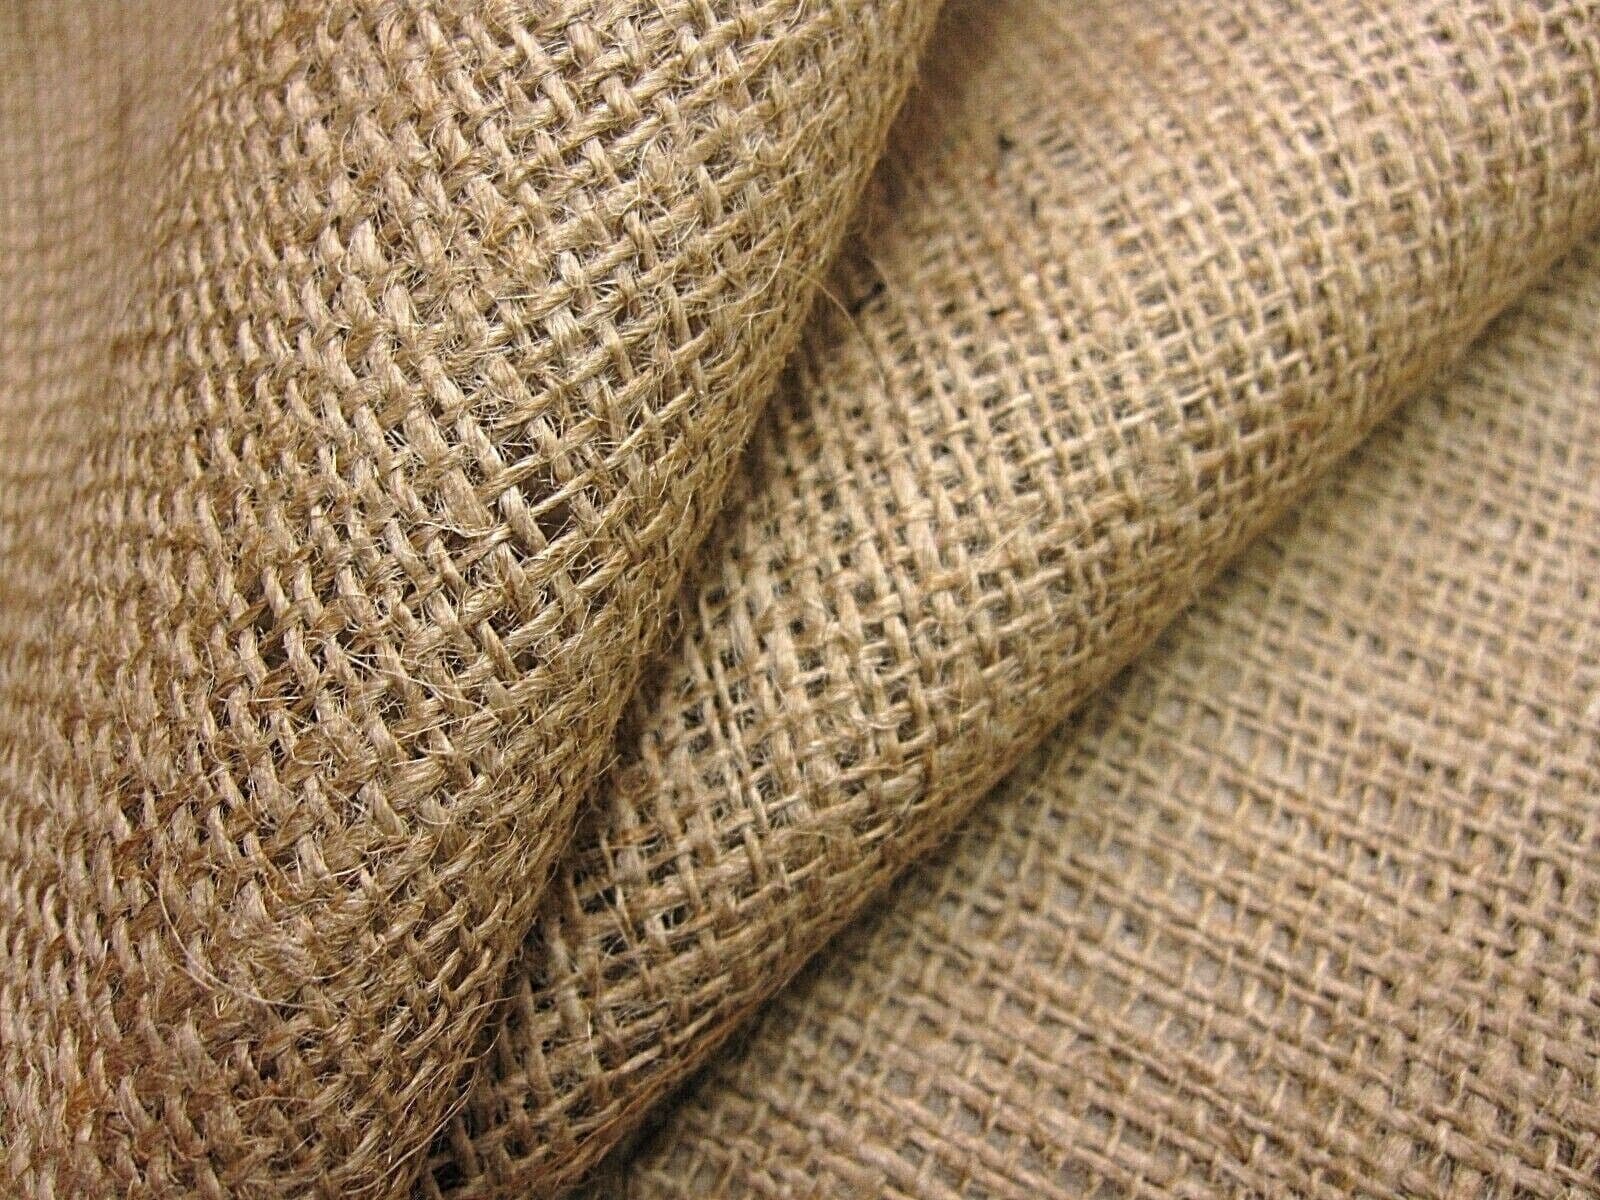
Durable fabrics: Choose fabrics that are both strong and easy to clean. Consider colors and designs to match the interior of your car.
Tape measure and scissors: Accurate measurements are crucial to creating an organizer space that suits your specific needs.
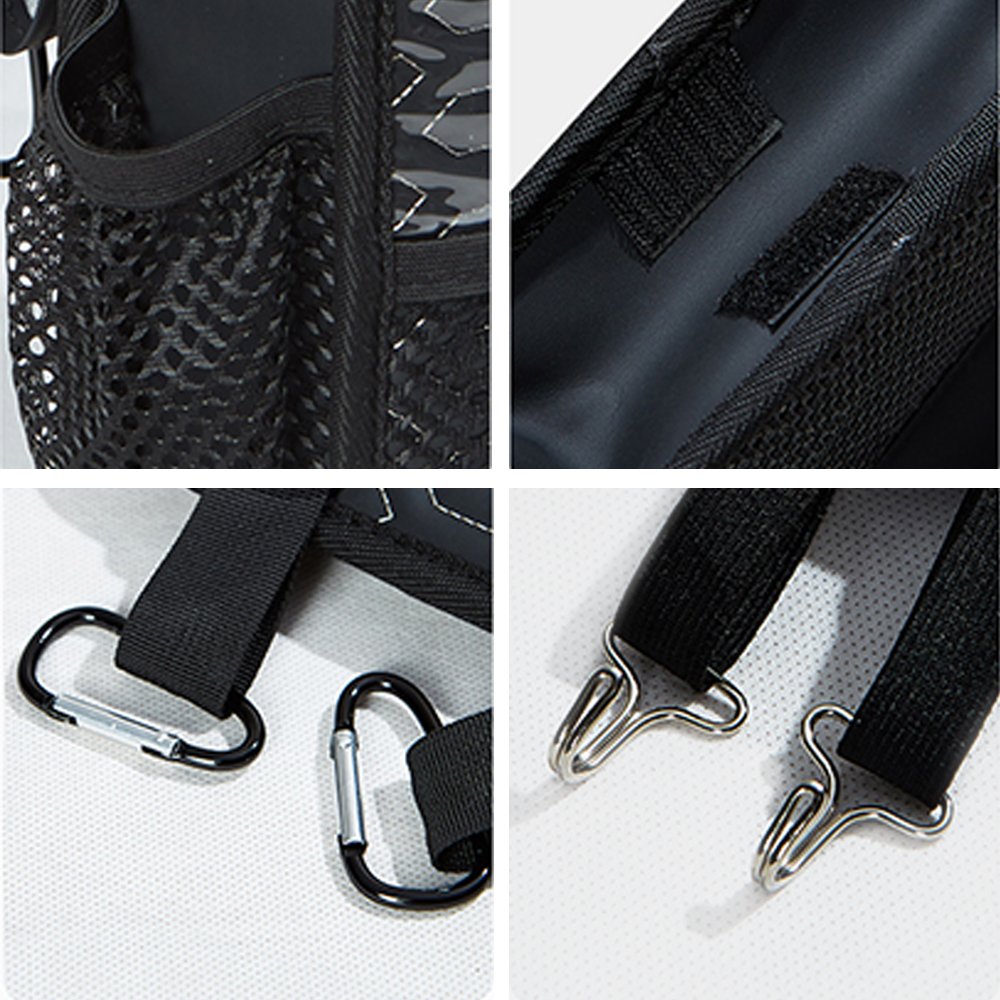
Velcro or elastic: These will be used to secure the organizer to the back seat of the car. Velcro is very easy to adjust.
Cardboard or foam board: This will give the organizer structure, ensuring that it retains its shape and function.
-151.png)
Make your rear seat car organizer: Step by step
1. Measure and cut the fabric
First measure the size of the back seat of the car. Take into account any headrests or other items that may affect the size of the organizer. Once you have your measurements, cut the fabric accordingly.
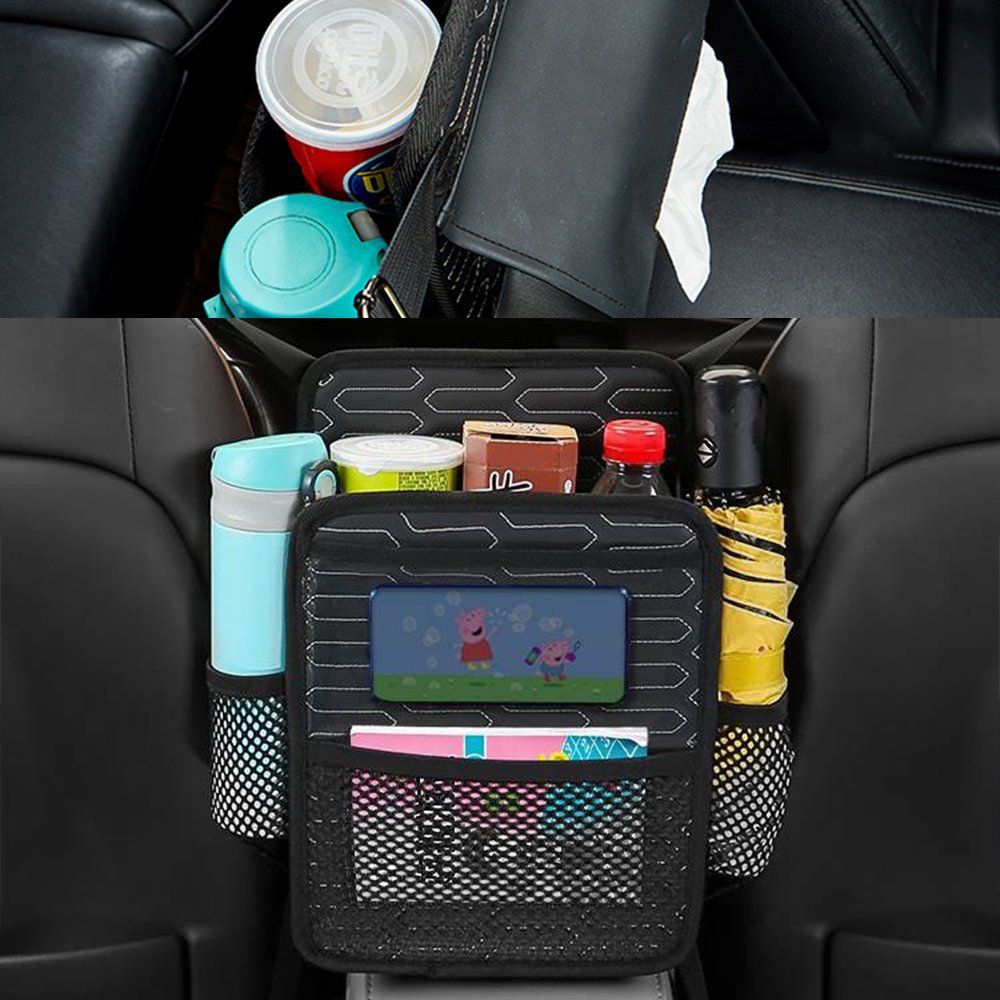
2. Create compartments
Decide on the type and number of carriages you need. Consider keeping water bottles, toys, snacks, and entertainment devices in your pockets. These compartments are securely sewn to the fabric, leaving enough space for easy use.
3. Reinforce with cardboard or foam board
To make sure the locker maintains its shape, cut cardboard or foam board to fit the locker. This step is essential for extended service life and durability.
4. Sew or secure the spacer
If you are using a sewing machine, carefully sew the edges of the spacer to the main fabric. If you choose the no-stitch method, use Velcro or elastic to secure the septum in place.
5. Attach Velcro or elastic
Attach Velcro or elastic to the top of the organizer. These will be used to ensure that the organizer is secured to the back of the car seat.
conclusion
Congratulations! You have successfully crafted a rear seat car organizer that fits your needs. Not only does it add a personalized touch to your vehicle, but it also changes your driving experience by keeping everything in your car neat and tidy.
Sum up
All in all, creating a car backseat organizer is a good decision, and with a few tools and materials, you can design a custom organizer that fits your needs and enhances your overall driving experience. Say goodbye to the clutter of the car and welcome a more organized and enjoyable journey!
Great Shine provides high quality car seat back organizers, if you feel that making an organization is a hassle for you, you can contact us and we will be happy to provide you with the product.
Please click here to contact us for enquiries or pricing details.