# How to build a shoe rack from wood
# # Introduction
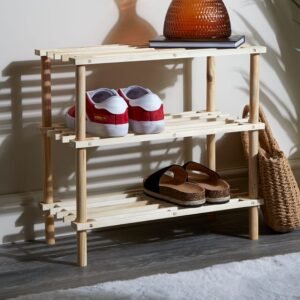
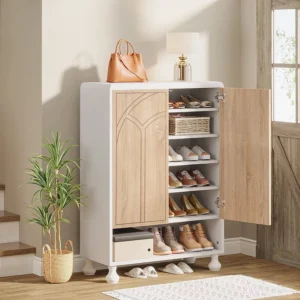
Are you tired of cluttered entrances or cluttered closets? A DIY shoe rack made of wood might keep your shoes neat and easier to handle. In this comprehensive guide, I’ll walk you step-by-step through the process of making your own shoe rack, providing valuable insights.
Overview of materials and tools
Before you start making, let us gather the materials and tools you need:
# # # Material:
– Wood (hardwood is preferred for durability)
– Wood screws
– Wood glue
— Sandpaper
– Wood finish (optional)
# # # Tools:
– Saw (circular or hand saw)
– Drill/driver
– Tape measure
– Pencil
– Clip (optional but useful)
– Paint brush (if painting)
Step 1: Planning and design
Title: Imagine your shoe rack
Before picking up any tools, take a moment to plan your shoe rack design. Consider factors such as available space, the number of shoes you need to fit, and any particular design preferences. Sketch out your design on paper, or use design software to visualize the final product.
Step 2: Cut the wood
Title: Precise tailoring for perfect fit
Using your saw, carefully cut the board according to the dimensions you designed. Measure twice and cut once to ensure accuracy is crucial. Depending on your design, you’ll need to make shelves, sides, and possibly a back.
Step 3: Assemble the frame
Topic: Strong frame
Use wood screws and wood glue to fix the side parts of the shoe rack to the shelf and assemble the frame of the shoe rack. Use a square to make sure the corners are perfectly aligned to create a solid structure. Consider adding additional support if needed, especially for larger racks.
Step 4: Finishing touches
Title: Smooth and sealed aesthetic appeal
After the frame is assembled, the surface is polished to remove rough edges and make the surface smoother. You can then choose a wood finish to enhance the look and protect the wood from wear and tear. Allow enough time for the wood to dry before proceeding to the next step.
Step 5: Add optional features
Title: Personalize your shoe rack
Depending on your preferences, you can customize extra features for your shoe rack, such as hooks for your keys, or a bench to sit on while wearing your shoes. Get creative and customize designs to meet your unique needs and space constraints.
Step 6: Install
Title: Secure placement for peace of mind
Finally, install your new shoe rack securely in the desired location. Use suitable hardware, such as screws or wall anchors, to ensure stability, especially if the rack will bear significant weight.
## Content overview and summary
Making a shoe rack out of wood is a rewarding DIY project that will not only enhance the organization of your home, but also allow you to unleash your creativity. By following the steps outlined in this guide, and using the right materials and tools, you can create a functional and stylish shoe storage solution tailored to your needs.
# # Conclusion
Say goodbye to the clutter of shoes and create your own custom shoe rack! Whether you are an experienced DIY enthusiast or a novice woodworker, this article will give you the knowledge and confidence to tackle this project with ease. Are you ready to get started? Gather your materials, roll up your sleeves and let’s build the shoe rack of your dreams!