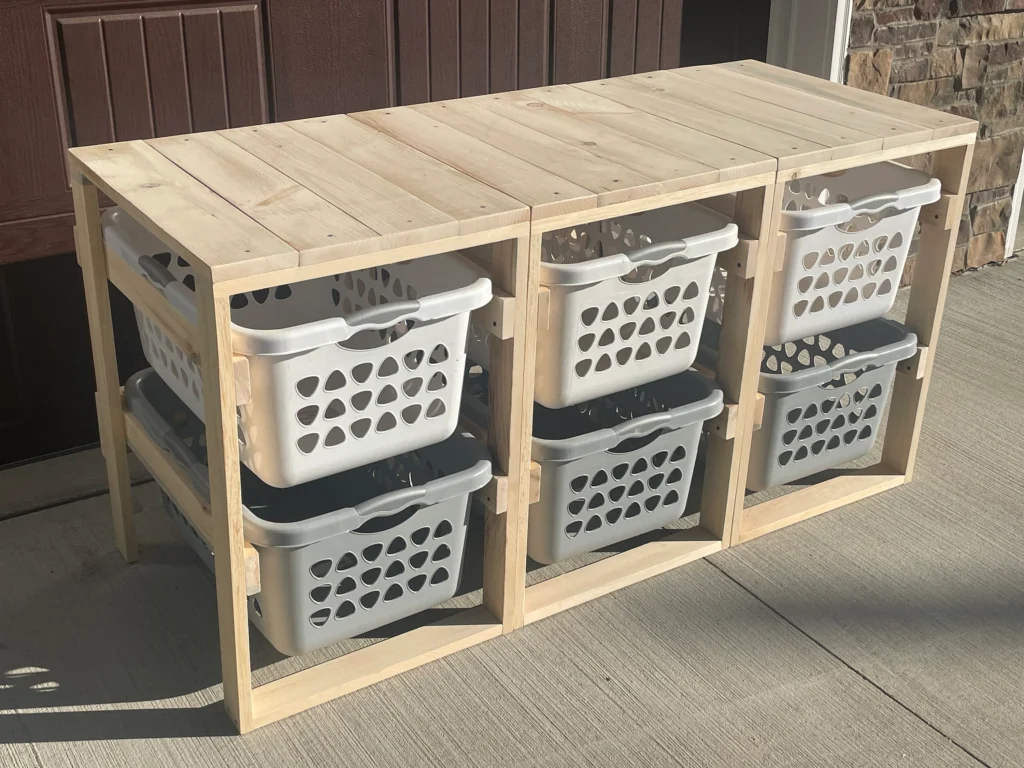
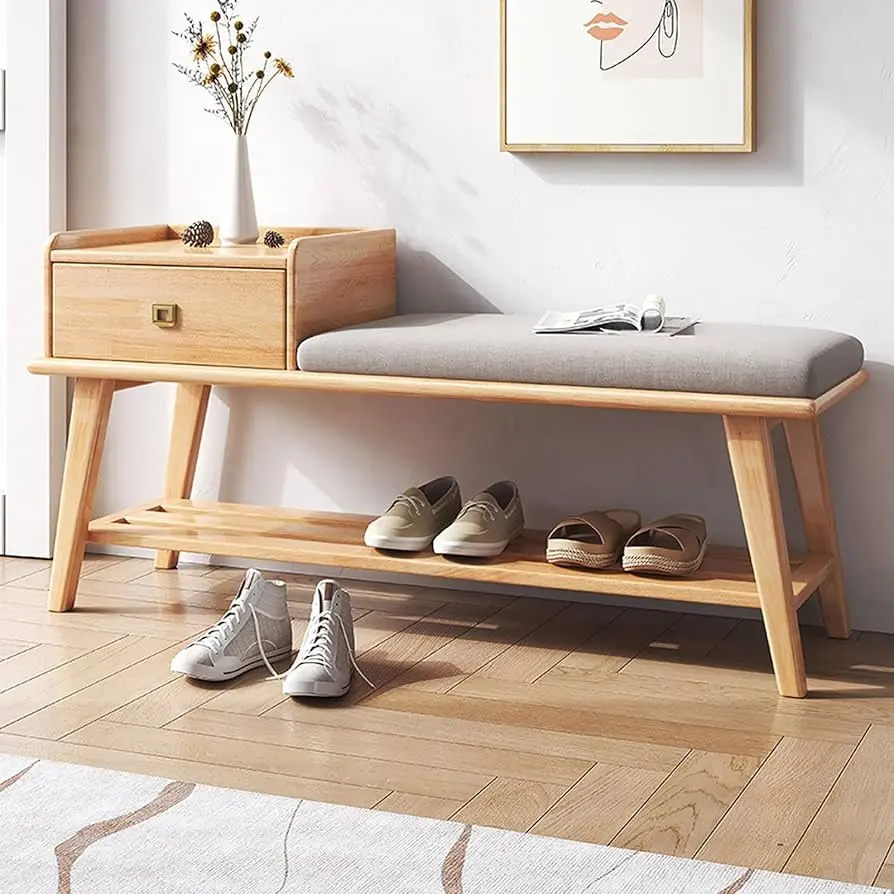
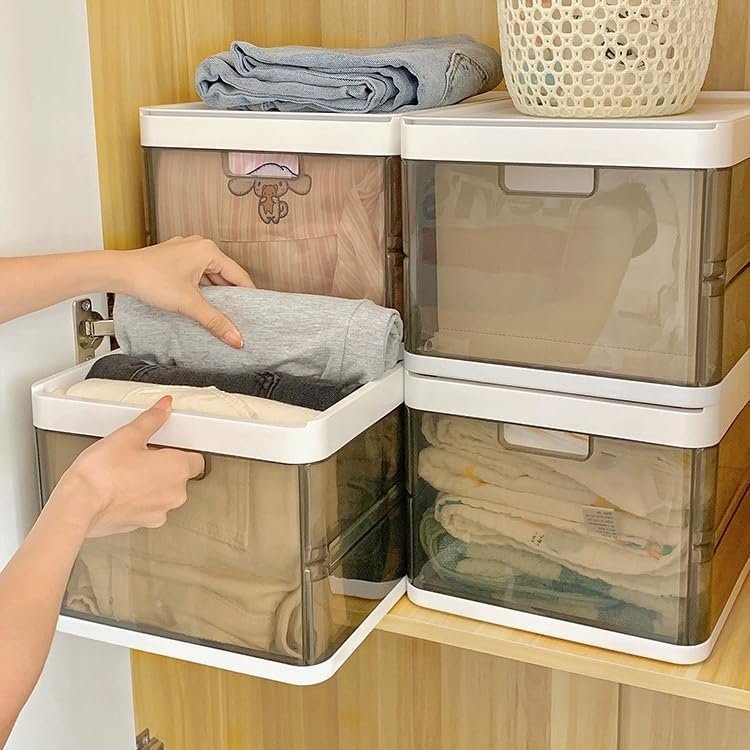
Are you tired of cluttered laundry rooms and searching for the best way to organize your laundry baskets? Knowing how to build laundry basket holder can transform your space, making it more functional and visually appealing. This DIY project not only helps you manage your laundry better but also adds a stylish touch to your home.
In this article, I will guide you through the process of creating your very own laundry basket holder. We’ll cover everything from materials needed to the final touches, ensuring you have all the information you need to get started.
Why You Need Laundry Basket Holder
Before diving into the construction, let’s discuss why a laundry basket holder is essential.
Organization: A holder keeps your laundry baskets neatly stored, making it easier to separate clothes by color or fabric type.
Space-Saving: A custom-built holder can maximize your laundry room space, especially in small areas.
Accessibility: Having designated spots for each basket makes it easy to grab what you need, making laundry day less of a chore.
Materials Needed
Before we start building, here’s a list of materials you will need for your laundry basket holder:
Wooden boards (2x4s work well)
Screws
Wood glue
Sandpaper
Paint or stain (optional)
Measuring tape
Saw
Drill
Level

Step-by-Step Instructions
Step 1: Measure Your Space
Begin by measuring the space where you want to place your laundry basket holder. This will help you determine the dimensions of your holder.
Step 2: Cut the Wood
Using your saw, cut the wooden boards to your desired dimensions. Here’s a simple configuration:
Two vertical boards for the sides.
Two horizontal boards for the top and bottom.
Additional horizontal boards to create shelves for your baskets.
Step 3: Assemble the Frame
Using screws and wood glue, assemble the frame of the laundry basket holder. Start by attaching the bottom horizontal board to the vertical side boards, then attach the top horizontal board. Ensure everything is level and secure.
Step 4: Add the Shelves
Next, attach the additional horizontal boards to create shelves for the baskets. Depending on the number of baskets you want to store, adjust the height of the shelves accordingly.
Step 5: Sand and Finish
Once the assembly is complete, use sandpaper to smooth any rough edges. This step is crucial for preventing snags and ensuring safety. You can also paint or stain the holder to match your laundry room decor.
Step 6: Place the Laundry Baskets
After the finish has dried, place your laundry baskets into the holder. Make sure to organize them according to your laundry preferences, such as whites, colors, and delicates.
Additional Tips for Enhancing Your Laundry Basket Holder
Label Baskets: Use labels to easily identify which basket is for what type of laundry. This will save you time when sorting clothes.
Incorporate Hooks: Consider adding hooks on the side of the holder for hanging delicates or laundry accessories.
Add Wheels: If space allows, adding wheels to the base can make the holder mobile, allowing you to easily move it around your laundry area.
Conclusion
Now that you know how to build laundry basket holder, you can create a functional and attractive solution for your laundry space. This DIY project not only organizes your baskets but also enhances your overall laundry experience.
