Snaps are one of the simplest and most practical fasteners in the textile industry. They are widely used in clothing, laundry bags, and travel organizers because they provide quick closure, durability, and a neat appearance. If you’ve ever wondered how to put snaps on fabric, this guide will take you through the process step by step, with professional tips and industry insights.
Why Choose Snaps Instead of Other Fasteners?
Compared to zippers and buttons, snaps offer a unique balance of convenience and function:
Quick closure – easy to press and release.
Durable – metal or reinforced plastic snaps last through repeated use.
Cost-effective – cheaper than zippers in mass production.
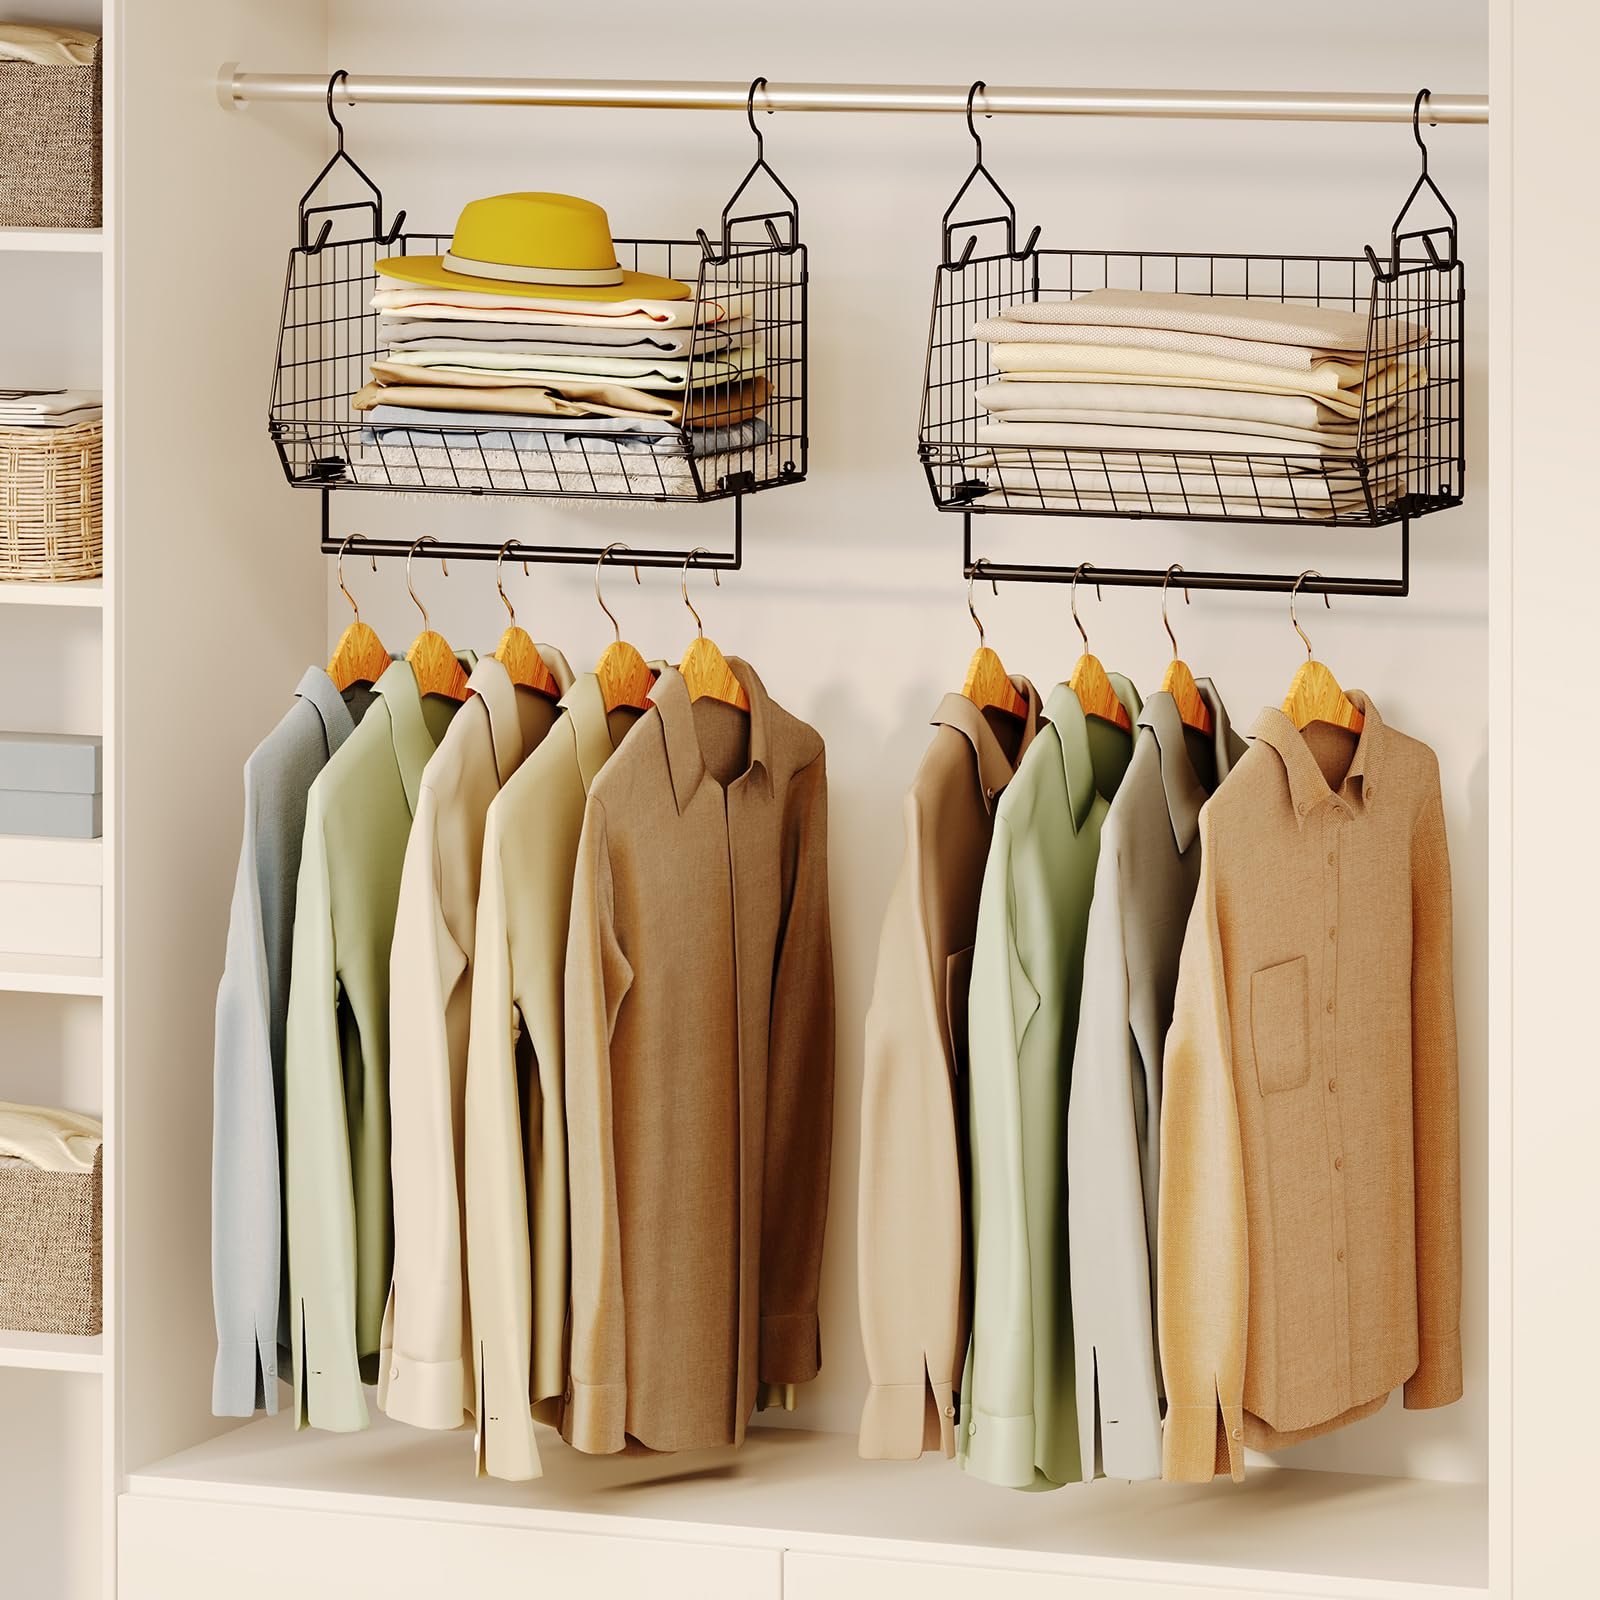
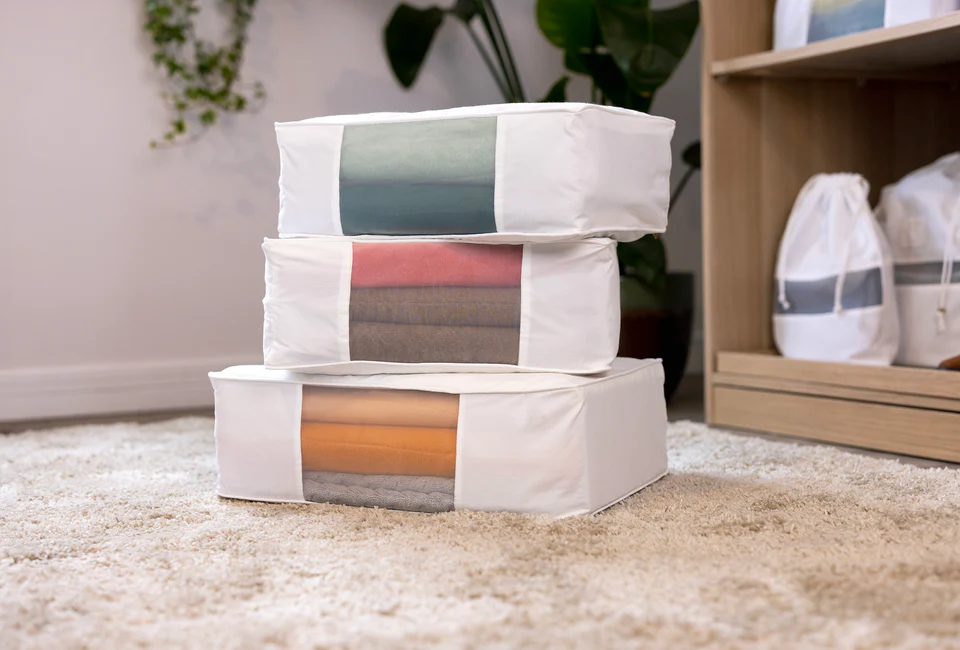
Versatile – suitable for apparel, bags, and storage products.
Tools You’ll Need
Before learning how to put snaps on fabric, make sure you have:
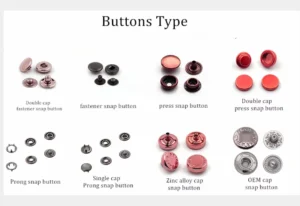
Snap set (cap, socket, stud, post)
Snap pliers or a snap press machine
Awl or small hole punch
Ruler and fabric marker
Reinforcement material (interfacing or extra fabric for thin textiles)
Factory Tip: In industrial production of laundry bags or travel pouches, heavy-duty snap machines ensure precision and uniform quality across thousands of pieces.
Step-by-Step: How to Put Snaps on Fabric
Step 1: Mark the Placement
Use a fabric marker to mark both sides where the snaps will meet.
Double-check alignment—misplacement is the most common error in DIY projects.
Step 2: Create a Small Hole
Use an awl or hole punch to pierce the fabric at the mark.
For lightweight fabrics, add interfacing to strengthen the area.
Step 3: Insert the Snap Cap
Push the cap post through the hole from the front of the fabric.
Step 4: Place the Socket or Stud
Position the socket (female part) or stud (male part) over the cap post.
Step 5: Press Firmly
Use snap pliers or a press tool to squeeze the pieces together.
Ensure the snap is flat and securely fastened.

Common Mistakes to Avoid
Misalignment – if snaps don’t line up, the closure won’t work properly.
Weak reinforcement – thin fabric may tear under pressure if not reinforced.
Inconsistent pressure – insufficient pressing can make snaps fall off.
Wrong snap size – choose snap size according to fabric weight and project type.
Different Types of Snaps and Their Applications
Sew-on snaps – stitched by hand, good for lightweight garments.
Plastic snaps – lightweight and colorful, common in baby products and pouches.
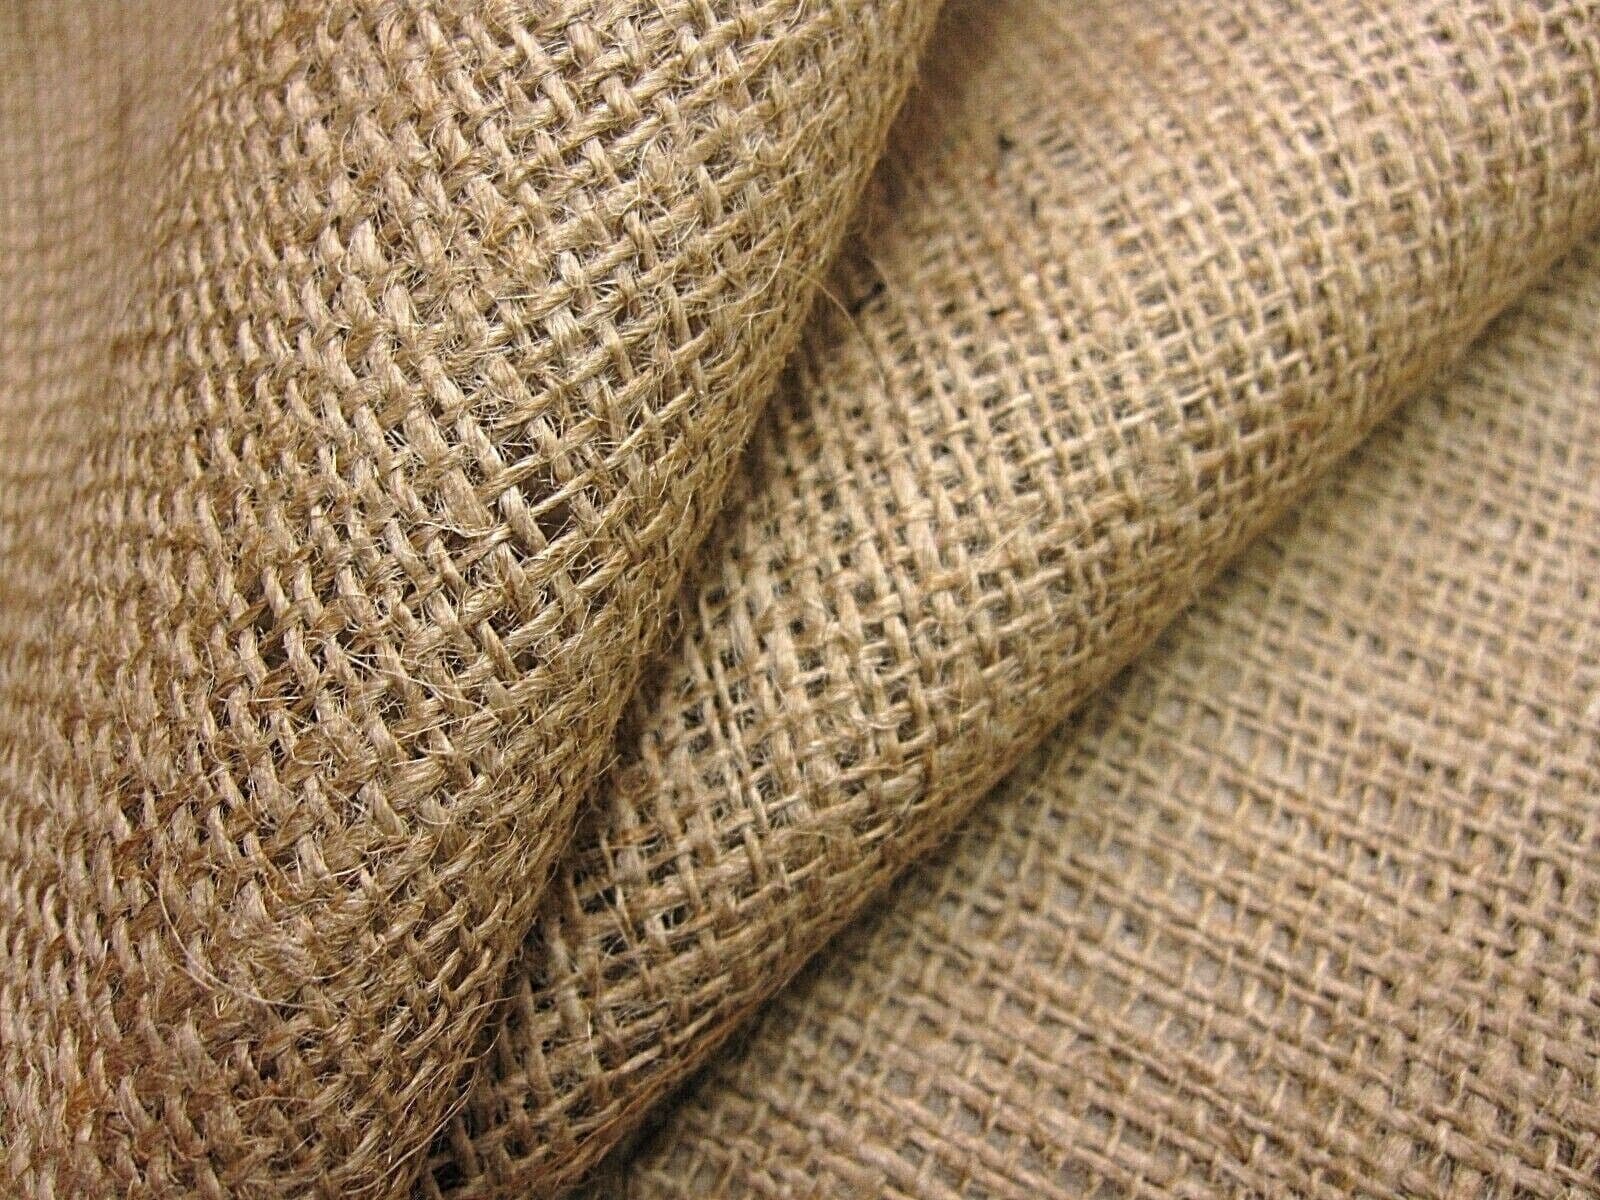
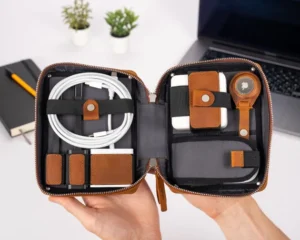
Metal snaps – strong and long-lasting, ideal for laundry bags and travel organizers.
Magnetic snaps – often used in handbags or high-end organizers.
Professional Tips from Industry Practice
Test before bulk production: Always create a pre-production sample.
Match snap type to fabric: Heavy-duty snaps for polyester storage bags, lightweight snaps for cotton covers.
Check durability: Snaps should survive repeated open/close cycles without loosening.
Combine with branding: Many brands customize snaps with embossed logos for added identity.
Conclusion
Learning how to put snaps on fabric is a simple but valuable skill. With the right tools, careful alignment, and proper reinforcement, you can add durable and practical closures to garments, laundry bags, or travel organizers.
👉 Want to explore storage and travel products designed with secure snap closures? Contact us today to request samples and customization options.